
- What recruiters notice first: Your photo sets the first impression before headline or experience, and small details can signal “professional” or “careless”.
- The 5 DOs: Smile naturally, Use a clean background, Get good lighting, Frame head and shoulders with your face about 60% of the image, Dress one level more formal than your usual work.
- The 5 DON’Ts: Avoid selfies, Cropped group photos, Distant shots, Blurry low quality images, And party or vacation photos.
- AI headshots verdict: Better than a bad real photo, but a good real photo still wins because AI can look “off” or feel less authentic.
- Fast DIY method: Window light + plain wall + phone timer, take 20 to 30 shots, pick the most natural and lightly edit only for crop and brightness.
We Asked 5 Recruiters What They Notice First
Your LinkedIn profile picture is the first thing people see. Before they read your headline, before they check your experience, they glance at your photo and form an immediate impression.
We interviewed five recruiters across tech, finance, and marketing to understand what makes a profile picture professional versus problematic. Their answers were consistent: certain elements signal professionalism and approachability, while others raise red flags or make candidates appear unserious.
The good news: a great LinkedIn photo doesn’t require professional photography or expensive equipment. It requires understanding what recruiters look for and avoiding common mistakes.
The 5 “DOs” for LinkedIn Profile Pictures
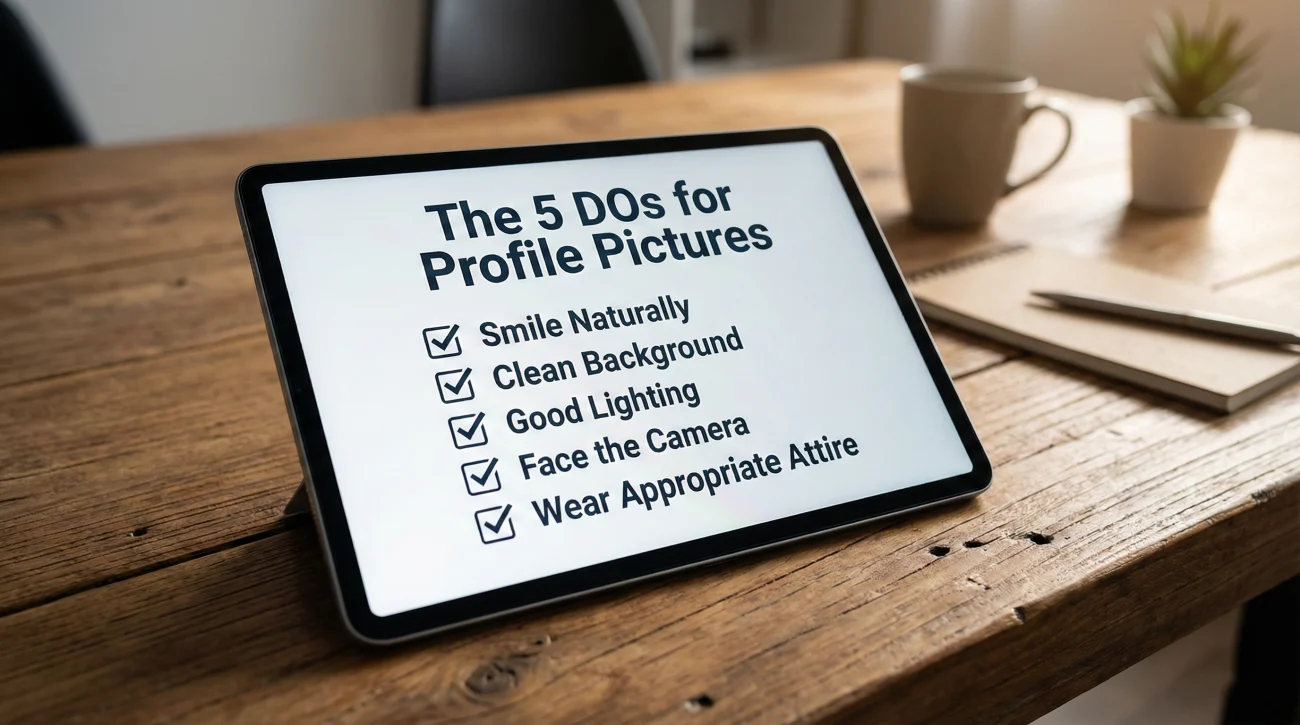
1. DO Smile (Naturally)
All five recruiters mentioned this first. A genuine smile makes you appear approachable and confident.
Why it matters: LinkedIn is a networking platform. People connect with people who seem friendly. A serious or neutral expression can come across as cold or unapproachable.
The right kind of smile:
- Natural, not forced
- Shows teeth or a warm closed-mouth smile
- Reaches your eyes (genuine smiles create slight crinkles)
Exception: Some very senior executive roles or highly formal industries (law, finance) may prefer more neutral expressions. But for most roles, smile.
2. DO Use a Clean, Simple Background
Your face should be the focus, not your background. Busy or cluttered backgrounds distract from you.
Good backgrounds:
- Plain wall (white, gray, light blue)
- Soft-focus office or outdoor setting
- Blurred professional environment
- Simple, uncluttered space
Bad backgrounds:
- Messy rooms or cluttered desks
- Busy patterns or bright colors
- Locations that look too casual (bedroom, bathroom)
- Distracting objects or people in frame
If you can’t find a plain wall, use portrait mode on your phone to blur the background.
3. DO Get Good Lighting
Lighting makes or breaks a photo. Good lighting makes you look professional and energetic. Bad lighting makes you look tired or unprofessional.
Simple lighting tips:
- Face a window (natural light is best)
- Avoid overhead lighting (creates shadows under eyes)
- Avoid direct sunlight (too harsh, causes squinting)
- Take photos during golden hour (hour after sunrise or before sunset)
You don’t need professional lighting. A window on a cloudy day provides perfect soft, even light.
4. DO Frame Your Face Properly (60% Rule)
Your face should take up about 60% of the frame. Too close feels awkward. Too far and you’re unrecognizable in search results or comments.
Proper framing:
- Head and shoulders visible
- Some space above your head (don’t cut off the top)
- Face centered in frame
- Eyes roughly in the top third of the photo
Think “passport photo” framing, but less stiff and with a smile.
5. DO Dress Professionally (One Level Up)
Dress one level more formal than your typical work attire.
General guidelines:
- Tech/startups: Nice shirt or blouse, no need for suit
- Corporate/finance: Suit or blazer
- Creative fields: Smart casual, can show more personality
- Healthcare/education: Professional but approachable
Safe choices:
- Solid colors (navy, black, white, gray)
- Business casual minimum
- Avoid busy patterns or logos
- Make sure clothes are clean and wrinkle-free
One recruiter put it simply: “Dress like you’d dress for a first-round interview.”
For comprehensive profile optimization, see our complete LinkedIn guide.
The 5 “DON’Ts” for LinkedIn Profile Pictures
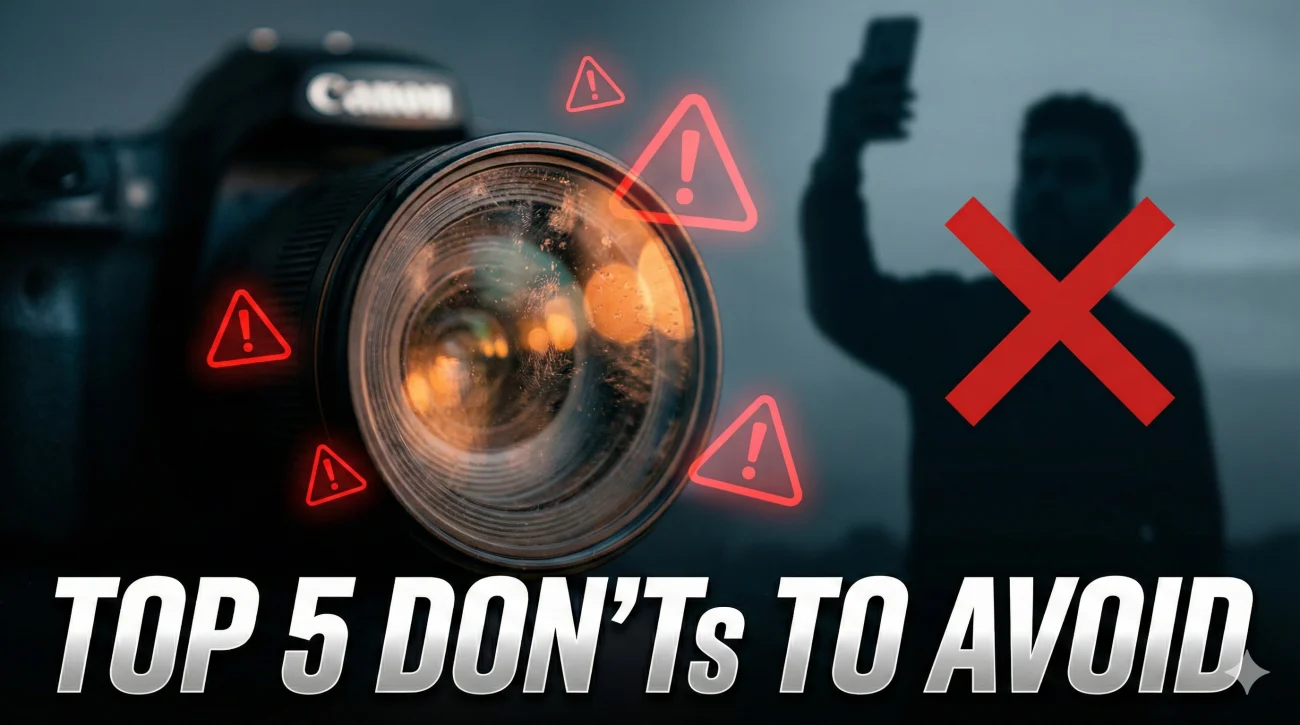
1. DON’T Use a Selfie
Selfies have a distinct look: slightly warped perspective, arm visible or cut off, odd angles. Recruiters notice and it looks unprofessional.
Why it’s a problem: Selfies signal you didn’t invest even minimal effort in your professional presence. They often include awkward angles, visible arms, or bathroom mirrors.
Solution: Ask someone to take your photo, use a phone timer with a tripod/stack of books, or use your laptop webcam. Any of these is better than a selfie.
2. DON’T Crop Yourself From a Group Photo
We’ve all seen these: someone cropped out of a wedding or party photo, with half of someone else’s shoulder still visible.
Why it’s a problem:
- Looks lazy and unprofessional
- Usually includes distracting elements (other people’s arms, party backgrounds)
- The lighting and framing weren’t designed for a solo headshot
Solution: Take a dedicated photo for LinkedIn. It takes 5 minutes.
3. DON’T Use a Photo Where You’re Too Far Away
LinkedIn profile pictures are displayed as small circles. If you’re too far from the camera, your face becomes unrecognizable.
Test this: Upload your photo and check how it looks as a small thumbnail. If you can’t clearly see your face, it’s too distant.
Common culprits:
- Full-body photos from events
- Conference photos taken from across the room
- Outdoor photos with too much background
4. DON’T Use Blurry or Low-Quality Photos
Blurry photos look unprofessional and suggest you don’t care about details.
Quality checklist:
- In focus (especially your eyes)
- High enough resolution (at least 400×400 pixels)
- Not pixelated when zoomed in
- Clear and sharp
Modern phone cameras are more than sufficient. You don’t need professional equipment – just make sure the photo is clear and in focus.
5. DON’T Use Photos From Weddings, Parties, or Vacations
These photos usually include formal wear that looks out of place, party atmospheres, or vacation backgrounds that signal “not professional.”
Why recruiters notice:
- Formal event attire (tuxedos, formal dresses) looks incongruent with professional headshots
- Party or vacation backgrounds are distracting
- These photos weren’t designed for professional contexts
Exception: A well-cropped photo from a professional event (conference, panel) where you’re dressed appropriately and the background is neutral can work.
What About AI-Generated Profile Photos?
Several services now offer AI-generated professional headshots. You upload casual photos, and AI creates professional-looking portraits. Should you use them?
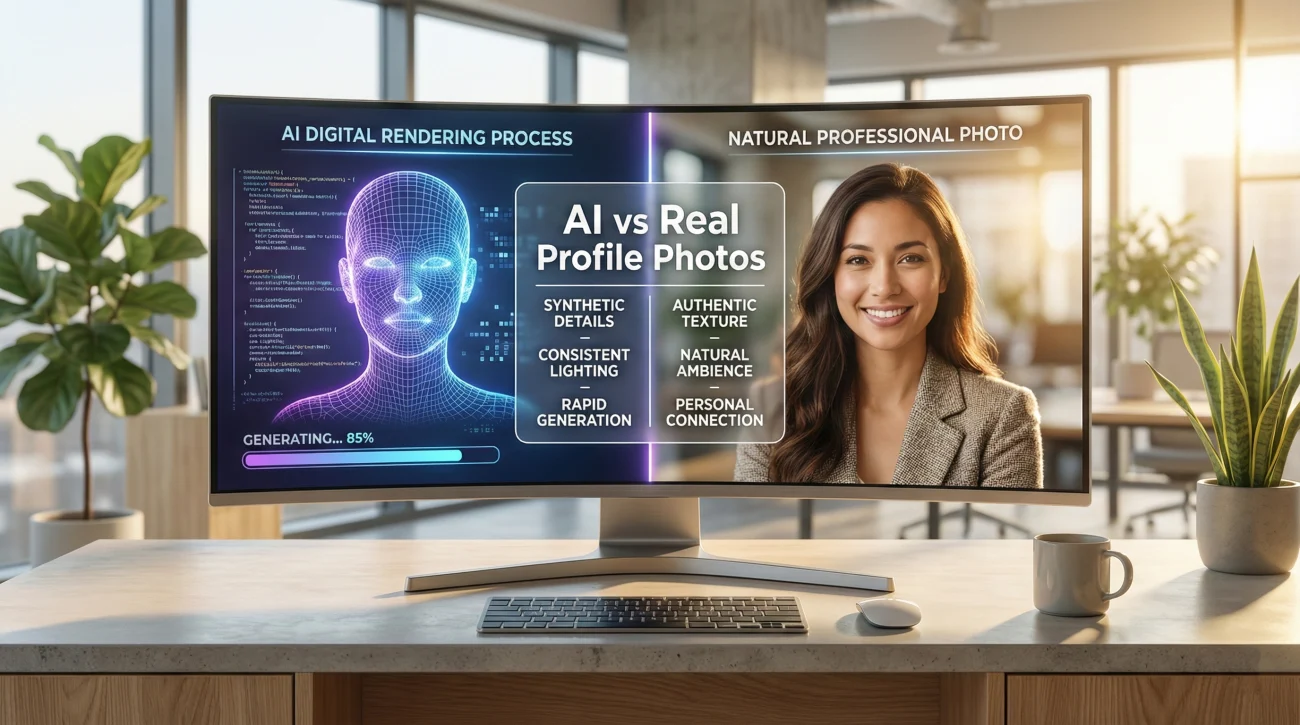
The Case For AI Photos
- Cheaper than professional photography ($20-40 vs $100-300)
- Consistent professional quality
- Can generate multiple variations quickly
- Useful if you don’t have recent professional photos
The Case Against AI Photos
- Sometimes look subtly “off” (uncanny valley effect)
- May not perfectly match your current appearance
- Can feel inauthentic if people meet you in person
- Some recruiters can spot them and view negatively
Recruiter Perspective
The recruiters we interviewed were split. Some said they didn’t care as long as the photo looked professional. Others said AI photos sometimes create trust issues: “If they’re using AI for their photo, what else are they not being genuine about?”
Our recommendation: AI photos are better than bad real photos (blurry selfies, cropped group shots). But a good real photo beats AI every time. If you can take a decent photo with natural light and a plain background, do that first.
For more LinkedIn optimization tips, explore our complete profile guide.
Quick Guide: Take Your Own Professional LinkedIn Photo
You don’t need a photographer. Follow this 10-minute process:
- Find good lighting: Stand facing a window during daytime (cloudy days are perfect)
- Find a clean background: Plain wall or use portrait mode to blur background
- Dress professionally: Business casual minimum
- Set up your camera: Phone on timer or ask someone to take the photo
- Frame properly: Head and shoulders, face takes up 60% of frame
- Smile naturally: Think of something pleasant, smile with your eyes
- Take 20-30 photos: Different angles, expressions, poses
- Review and select: Pick the most natural, friendly, professional one
- Edit minimally: Crop, adjust brightness if needed, but don’t over-filter
- Upload to LinkedIn
This process takes less time than scheduling and attending a professional photo session, costs nothing, and produces results that work for 95% of profiles.
FAQ
Your Photo Is Your Digital Handshake
LinkedIn profile pictures create first impressions before anyone reads a single word about you. A professional, friendly photo signals that you take your career seriously and are someone worth connecting with.
The five essential elements: smile naturally, use a clean background, get good lighting, frame your face properly (60% of photo), and dress professionally. Avoid selfies, cropped group photos, distant shots, blurry images, and event photos.
You don’t need expensive equipment or professional photography. Natural light from a window, a plain wall, business casual attire, and 10 minutes are enough to create a photo that works.
If your current photo violates any of the “don’ts” above, update it this week. It takes minimal time but significantly impacts how recruiters and connections perceive you.
Your profile picture is the digital equivalent of a firm handshake and good eye contact. Make it count.
For additional LinkedIn optimization resources, check out our comprehensive career guide.